Whether you’re cutting costs, stuck at home, or looking to bring things in-house, making your own mini photo studio is a great way to add more creativity to your day-to-day. But if you want shots that will make your products shine and inspire online shoppers to make a purchase, you need the right home photography studio setup.
Receive free ecommerce & product photography tips
Below, we go over how to build a photography studio from scratch and learn from expert product photographers how to create shots that will be the envy of your competitors.
Keep it simple
First things first: don’t try to do too much. Remember, your home isn’t meant to be a professional studio space. It’s important to have realistic expectations and avoid overly ambitious plans.
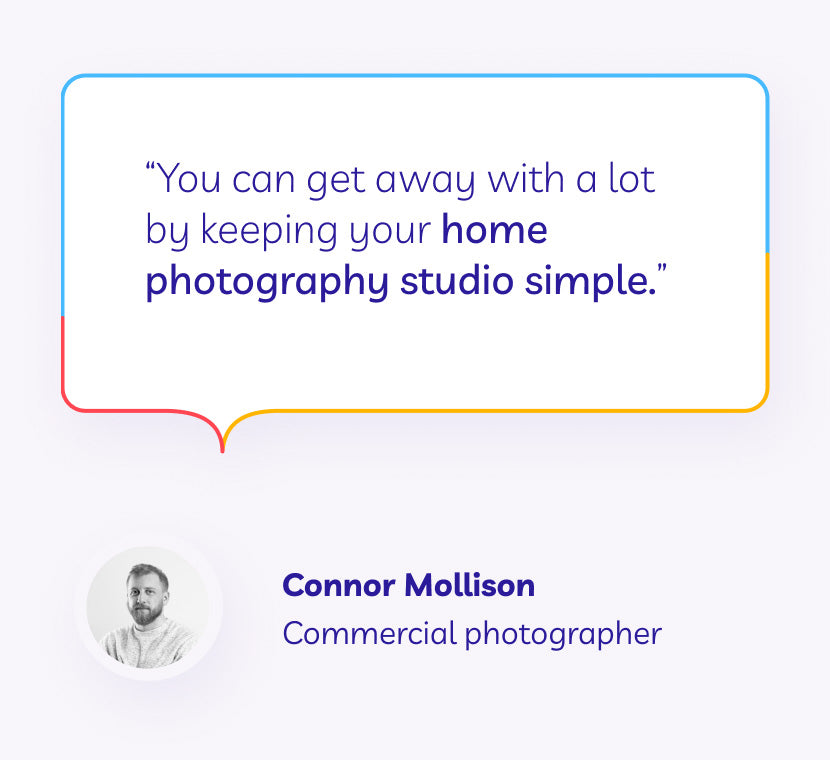
Connor Mollison, commercial photographer of his own business, Connor Mollison Photography, is currently shooting out of his own living room. “Don't worry too much about trying to make your setup expensive and complicated,” he says. “You can get away with a lot by keeping your home photography studio simple.”
Tristan Olson, executive producer at video and digital content agency Venture, echoes this sentiment. “You don't need a big, expensive setup,” he says. And this extends to your camera, too. “Smartphones have incredibly good cameras, and you can do very in-depth editing right on the cameras themselves.”
Willie Greer, founder of The Product Analyst, notes that many businesses are especially budget-conscious right now. “Although a good camera is important for great pictures, you don't have to buy one if it's financially out of reach at the moment,” he says. “It can be a little risky to throw your money on pricey equipment.”
At the end of the day, it’s more important that you’re actually creating something — anything — instead of doing nothing at all during this time.
Choose your studio location
It’s important to pick the right spot to set up your studio, especially if you don’t have plans to dismantle it anytime soon. The main consideration here is lighting (we’ll get to that next), but there are also other practical considerations like the size of the room, if it disrupts anyone’s daily activities, how often you’ll have to reassemble it, etc.
Bigger is better, as it’ll give you room to play around more. And this also eliminates any reflections off the walls. But a big space isn’t always available, especially if you have lots of people at home. Wherever it is, make sure it’s safe and protected from damage from the kids or pets.
You also need to consider where you’re located in a geographic sense. In Colorado, for example, the sun shines more than in Pittsburgh. That direct sunlight can be good or bad — depending on the shot you’re after and where the windows are located in relation to your subject (not to mention lighting changes throughout the day). Typically, though, you’ll want as little ambient light as possible.
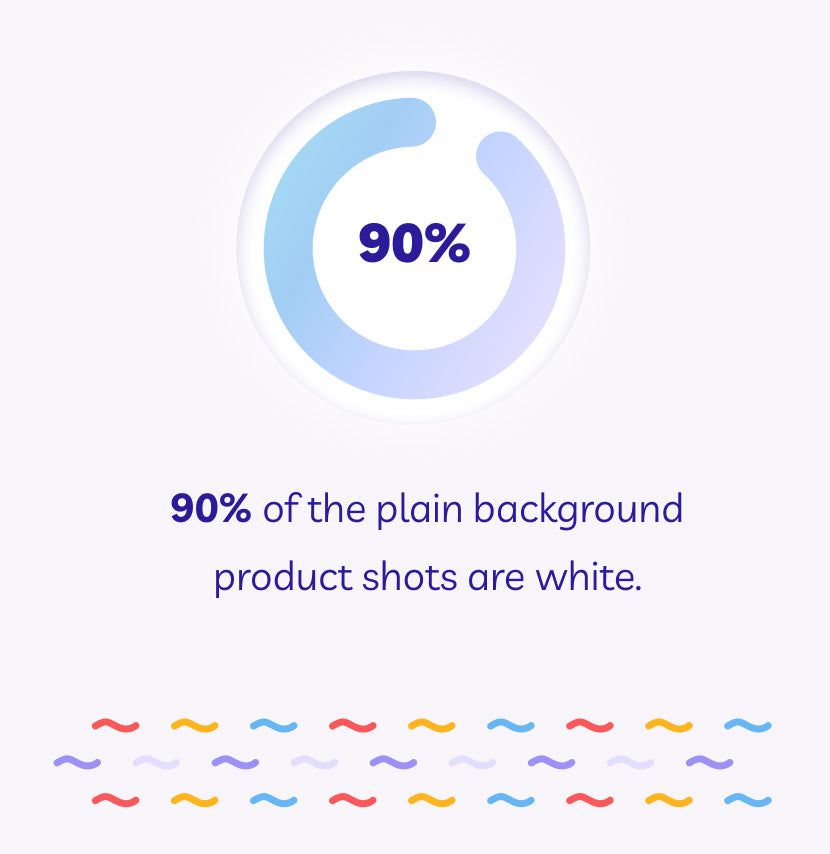
And finally, wall space is important, especially if you’re after white background shots. Of the top fashion ecommerce sites, for example, 90% of the plain background product shots are white. “Find a nice, clean area of your home that makes sense for your product and shoot there,” says Olson. Even if you can’t achieve a white background in-shot, a clean space will make it easier to change the background color later.
Mind your home photography studio lighting
Generally speaking, you want total control of lighting. But an at-home studio isn’t going to be as equipped as a rented space with the full lighting, reflectors, umbrellas, flash camera — the whole gamut. We need to get resourceful here with some DIY photo studio lighting.
Lighting is what makes or breaks an image. – Connor Mollison, commercial photographer
Mollison says the at-home product photographer can start with a single main light and several reflectors. “Reflectors are incredibly useful because they’re cheap and can fit anywhere in your setup,” he says. “If you’re shooting a bottle, you can have your main light to the right of the bottle and a reflector or mirror on the other side. The reflector acts as a second light while taking up less space and saving money.”
Maybe you don’t have any lighting to choose from. In this case, look for windows and natural light. “Use a reflector to help control the shadows.
If your window light has direct sunlight, use some diffusion material or even baking paper to make the light softer,” he says. “By diffusing your window light, you're essentially emulating what a softbox does.” If you’re shooting smaller products, Mollison recommends a lightbox. “These can help to transform any amateur-looking home set up to look immediately more professional.”
“Time of day is helpful to keep in mind as well,” says Tracy Mak Paddison, owner and brand photographer of Tracy Mak Photography & Design. “Your photoshoot will go more smoothly if you have enough light coming in through your window.”
The direction your windows face is important too. “If your window is facing east, the best time of day is in the morning. West-facing windows do best a few hours before the sun sets,” she says. “For windows that face north or south, any time in the middle of the day will work.”
Paddison recommends using a desk lamp with a piece of tissue or printer paper if your windows don’t provide enough natural light. Whatever you do, avoid overhead lights so you don’t get stark, unintentional shadows in your shots — or a yellowy light. “Move your table so it’s not directly under the light source from the room,” she says.
Too bright in your studio? “Sunlight can be pretty harsh if not controlled,” says Greer. “If the photo appears washed out, you can control the light by placing a white cloth over the window to diffuse it.”
Nail your photo background setup
Let’s talk backgrounds again. There are two types to consider when setting up your home studio: white background and non-white background.
White background product photography
Recall that nearly 90% of the top fashion sites use white background product photography. And Amazon and many other third-party ecommerce marketplaces even require white background photography.
To get a white background, you can use common household items like seamless white paper, sheets, posterboard, or even a wall. “If you want an all-white background for your product, you can simply clip on a piece of white fabric or paper on a chair for a chair mounted sweep,” says Greer.
If you can’t get it perfect, don’t fret too much. You can always play around in Photoshop later to fix the background. Or, if you’re like me and lack design skills, you can outsource the edits to Path's team of professionals who can do it for you quickly and affordably.
Non-white background product photography
Though the majority of brands seem to use white background product photos, it’s also important to showcase a variety of shots for potential customers. According to Salsify, nearly three-quarters of consumers want to see at least three photos. And if you have important product details, three plain white background shots aren’t going to cut it. This is where contextual product photos come into play.

“If you want in-context photos, you need to be a little bit more creative and gather some things around the house to make the elements of your photo,” says Greer. “Grab some magazines, maybe a chic table, fake flowers, colorful fabric, or anything that's in line with your product.” You could even head outside on a cloudy day (for optimal lighting) and enlist the help of one of your housemates.
Editor’s note: You can purchase a home photography studio kit that contains all of the basic equipment you’ll need, including backgrounds, lighting, reflectors, umbrellas, and more.
Set up the shot
Setting up the studio is one thing, setting up the shot is another. While you might not have the flexibility to shoot from ideal angles, it’s important to avoid shooting products from boring viewpoints.
“Don't shoot your product straight-on,” says Olson. “Find a unique way to angle your product. Maybe it is leaning on something or slightly tipped.” You probably have things around the house to prop products up.
Paddison recommends nailing the product itself before introducing props and other elements in the frame. “The best placement for your product is either in the middle or by using the rule of thirds to find the cross points,” she says. “Some examples of accents would be the ingredients to the product you are showcasing or florals.” Use accents and props sparingly though, she says — too many will distract from your product.
For flat lay shots, you’ll want to make sure there’s nothing on the surface except for the items you intend to shoot. “If you don’t have a table with an attractive finish, buy a few pieces of foam core for a bright white background,” says Paddison.
Evaluate along the way
One mistake many at-home photographers make is forgetting to check their work along the way. It’s a real bummer when you spend hours shooting your photos only to upload them to the computer and see that they’re not exactly what you thought. That’s why it’s important to check your photos along the way to make sure you’re on the right track — and adjust if you’re not.
“During your shoot, make it a habit to evaluate the photos every five or 10 shots. This will reveal any errors that can be fixed at the moment,” recommends Greer. “It's like a journey to the best photo: you take a picture, see what can be improved, take the steps to improve it, and repeat until you get it right.”
Finalize your photos
Before you make any edits or adjustments post-shoot, you’ll want to go through all the photos and cull the best ones and then organize them. This will save tons of time and stress on edits that you’ll never use.
Now that you have a batch of photos to work with, you may have to make some necessary adjustments in your photo-editing software. “Adjust brightness and give the color a bit of pop,” Greer says. “If you're not much of a Photoshop expert, there are many free editing tools you can use.”
Once the product looks sharp, Olson recommends adding other elements to repurpose the photos for use on other channels. “Use graphics and text to explain your product and elevate the photography,” he says.
Moving forward with your at-home photoshoots
Shooting product photos at home is a great way to cut costs, abide by any social distancing measures, and maintain a steady flow of new content to keep your audience engaged and interested in your brand.