Shooting photos and uploading them to your website is pretty straightforward. But taking your product photos to the next level is what’s going to help you stand out and drive more sales.
In this article we’re going to give you ideas on how to edit your product shots so they’re optimized to produce the most sales.
1. Get rid of distractions and imperfections
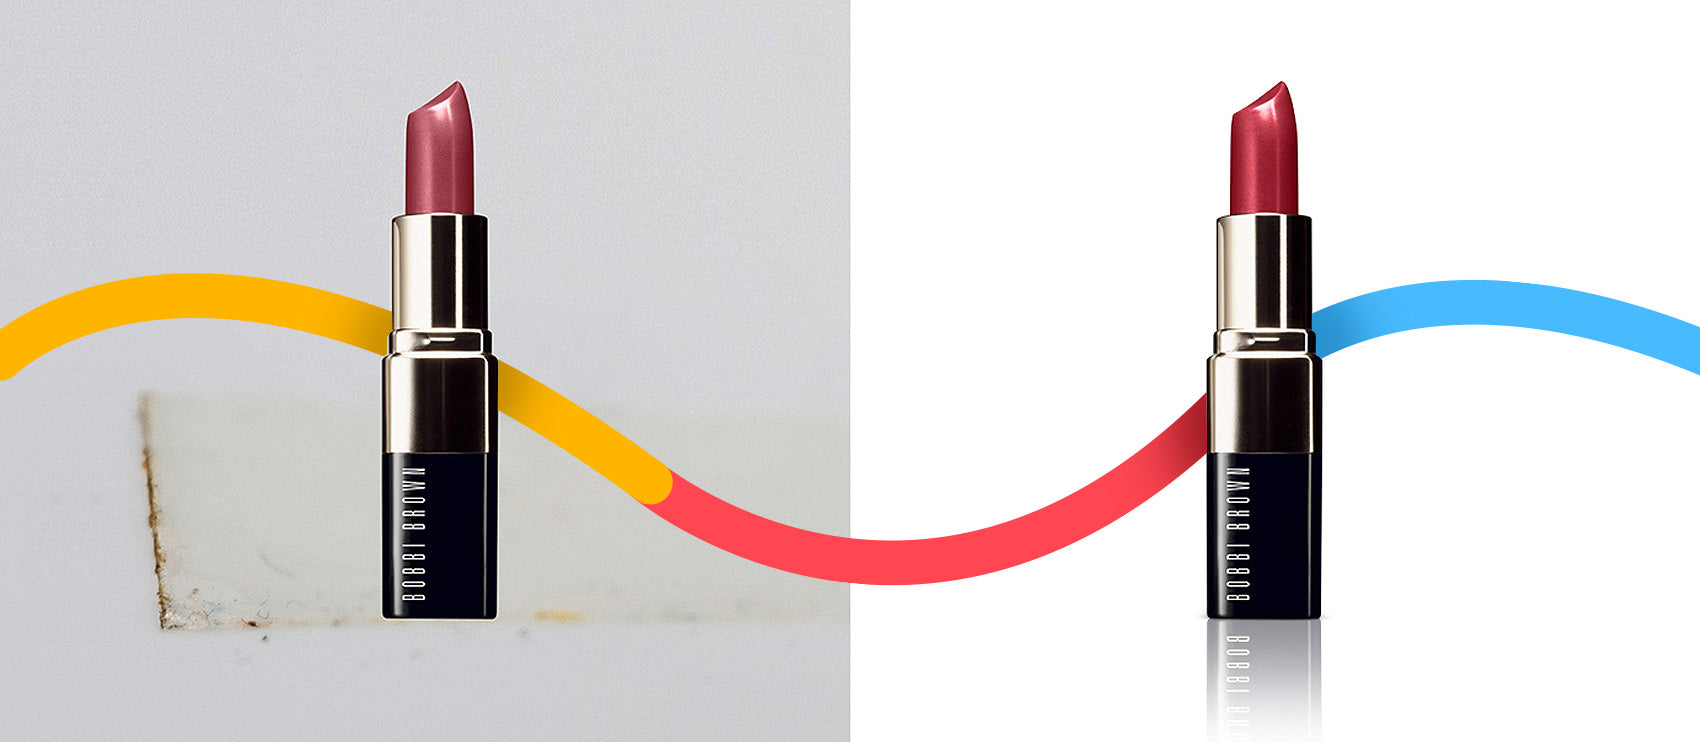
Effective product photos make it quick and easy for shoppers to see what you’re selling. Too many distractions take away from the product itself.
Distractions can take many forms: maybe you have too many props, there might be background noise on a lifestyle shoot, the light might have created a glare, or you could have the unavoidable speck of dust or odd stain.
You can remove these distractions with photo retouching in Adobe Photoshop or a similar photo-editing software. You can find out how to remove unwanted objects with this tutorial, for example, or outsource it to a virtual photo editing studio that can handle it for you.
2. Crop to fill the frame
Your product should fill a majority of the frame. This is an Amazon requirement as well as an ecommerce best practice.
Filling the frame allows shoppers to have a better view of the product without having to zoom, squint, or click through—regardless of the device they’re using.
Oral care brand Keeko uses white background main images that zoom in on the product so it fills the frame. While the toothpaste product on the far left is larger in actual size than the floss on the far right, shoppers don’t necessarily need to see scale at this stage in the journey—they’ll get that through the secondary images on the actual product page.

3. Cull the appropriate number of product photos to edit
Not enough product photos won’t give shoppers enough information. But too many may cause information overwhelm. The key is to get it just right.
According to our analysis of 25 top brands, three to five product images is the sweet spot. For most brands and products, you’ll want at least three images:
- Front of the product
- Back of the product
- A detail shot
Remember, best practices are guidelines, so it’s all about what works for your product and customers. You can also do a quick search on a popular ecommerce marketplace such as Amazon to see how many product images best-selling items have.
If you’re selling makeup, type “best makeup brands” on Amazon. Find one or two best sellers, click on the item, and take note of how many types of product photos that brand has.

You can also look on brands’ websites instead of just their Amazon listings, especially if you plan to sell direct to consumers via your own online store. Deodorant and wellness brand Native uses five product photos for its facial cleanser, for example—several of just the product on its own, as well as a few that include models.

4. Use white backgrounds
White backgrounds should be the standard for your main product photos, even if you can’t create a white background on set for whatever reason. They make it easy for shoppers to see products, compare items, and click through to the ones they’re interested in.
Generally, you’ll want to default to white backgrounds for online hero and main images.
Hero Cosmetics uses simple product-focused photos with a white background that really highlight its products and makes it easy to understand what options are right for you.

You don’t have to use stark white for your own website. Instead, you can opt for a hue or shade of white. Hylo Athletics, for example, uses an off-white background to showcase its vegan shoe line.

If you can’t create a white background for your photoshoot, you can always remove the background later. Once you remove the background, you can change the color to white or create a transparent background for more universal digital use.
5. Change the background color
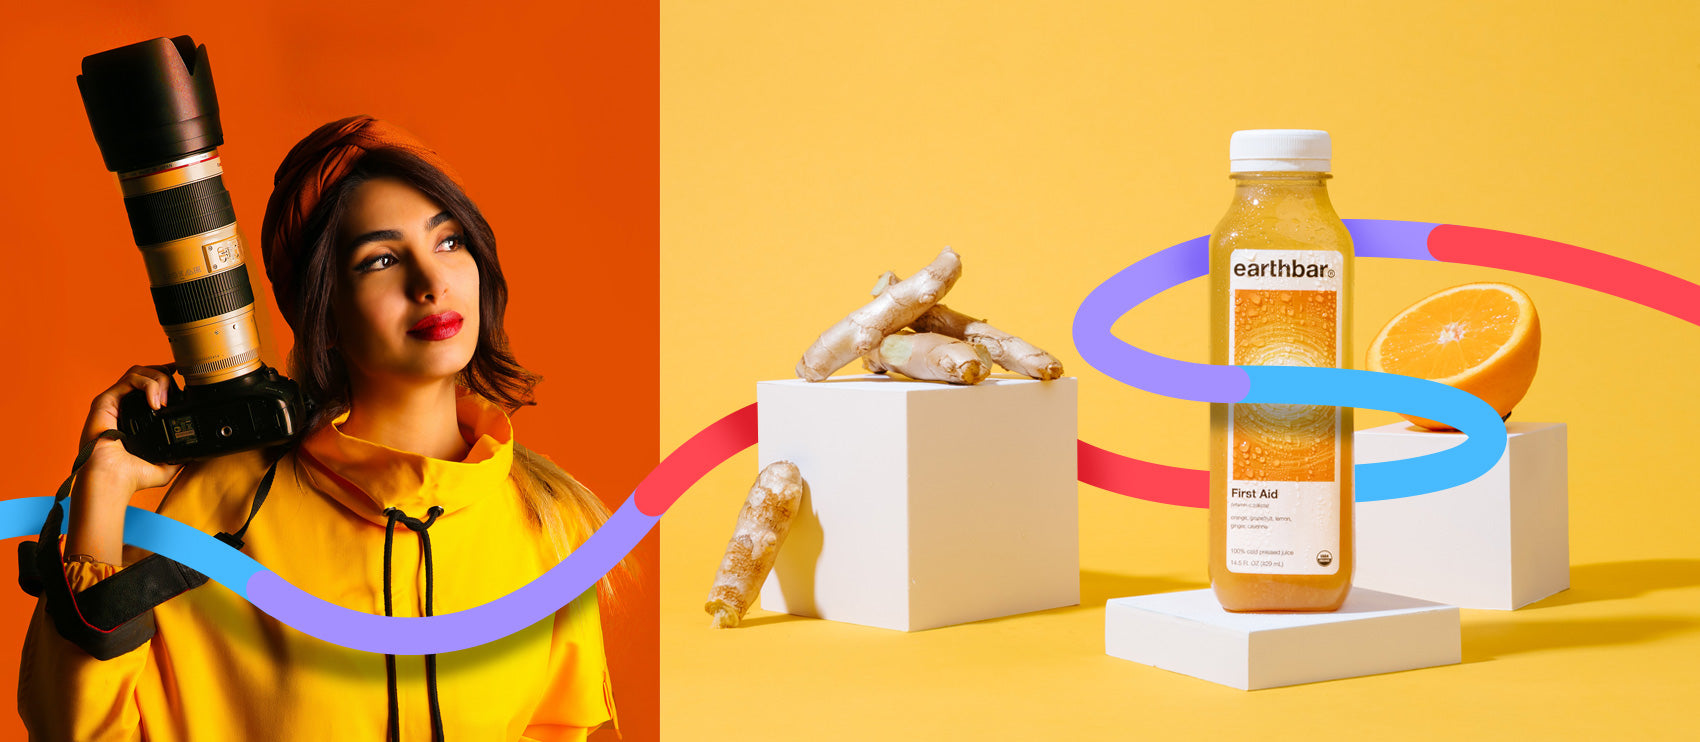
While white backgrounds should be the standard for your main product photos, that doesn’t mean you should shy away from getting creative—especially for your own website or social media. You can change the background color using Photoshop or a similar tool.
Experiment with various colored backgrounds to see what resonates most with your audience. Be sure to follow these tips on how to choose the best color.
See how Nguyen Coffee Supply makes its coffee products stand out further using a blue background. Working to find one or two additional colors for your backgrounds can really help spice up your entire product page with very little additional effort.

6. Create lifestyle composites
Lifestyle photography typically involves more work—set design, props, styling, assistants, possibly even models. But it’s important to include both white background and lifestyle photography to appeal to a wider range of customers.
Essentially, you want to incorporate your products in as many “real-world” use cases as you can to give more context to the prospective buyers. If you don’t have the extra budget for models, props, photographer, and locations for your lifestyle shoot, you can outsource it.
You can send your white background images and chosen stock photos to a studio to create for you. Or, you can hire a professional photography studio like Products On White Photography to shoot and edit the composites for you.

7. Fix lighting errors
Proper and effective lighting always starts at the photo shoot. It’s always best, but not always possible, to get the lighting right during the shoot. But sometimes you’ll need to fix it afterwards—maybe the weather wasn’t working, there was a glare, or you had unwanted reflections.

So if you’re unable to get the lighting right for your shoot, you can use a few simple lighting effects in post processing.
Here’s an example shared by Mandi Johnson, a fashion photographer and blogger. As you can clearly see, just a small change in lighting can dramatically change the look and feel of the same photo. Depending on your specific brand identity and positioning you can use lighting tweaks to really hone in on the exact feel your audience resonates with.

8. Use shadows
Just as it’s important to pay attention to lighting during your shoot, you’ll also want to keep an eye on the shadows in your product photos. Shadows give dimension to lifeless, flat white background photos. They’re challenging but can make a dramatic difference.
Add a drop shadow
If your shadows weren’t working at the time of the shoot, you can add a realistic drop shadow in Photoshop afterwards.
Here’s a great example of shadows that complement the product with Farmacy. The usage of shadows here make the product feel more life-like as opposed to a standard boring stock photo.

Add a reflection shadow
While natural shadows are often manipulated during the shoot, reflection shadows are typically added during post production. It’s a great way to add drama to your product images.
Luxury products, jewelry, perfume, and cosmetics often get reflection shadows. That’s because these items are often sold in department store environments with bright fluorescent lighting and reflective glass cases—so the shadow mimics that in-person experience.
Revision Skincare uses reflection shadows effectively for its product line. In this specific case, the shadow is what’s known as a reflection shadow, helping the image feel more three dimensional.

9. Fix colors to appear realistic and lifelike
Product photos need to accurately represent what you’re selling. It’s one thing to make your photos look good, but it’s another to over-edit or exaggerate your product to the point of being unrealistic.
From a color perspective, this means no filters or saturation. It’s important the colors in your images appear the same as they do in real life.
Be especially mindful when selling clothing, given it has the highest return rates. While the wrong size and fit are often the biggest reasons for returns, differences between a color on your site and how it looks in real life can impact returns significantly.
10. Use color change edits instead of reshooting
Using color change edits can maximize your investment. Instead of taking multiple photos of the same product just with a different color, you can use color change edits. Simply take one photo and create the rest through post processing.
Many top ecommerce brands, for example, use color variants to quickly show what the product would look like with a different color without taking a new photo entirely. Same models, style, look, just an edit to change the color in post production. For example, True Classic shows off its product bundle of nine of the same t-shirt, just different colors.

Instead of taking photos of nine individual shirts, it could take a photo of just one shirt and then change the color through editing. This can not only save time, it helps keep your product photos consistent as well.
11. Remove wrinkles from clothing
Wrinkles on apparel products look sloppy and unprofessional, plus it may make shoppers question the quality of not only your products but your service.
While you may iron and steam thoroughly before (and during) shooting, wrinkles are often inevitable. Removing wrinkles from your product photos helps show you care about the details and fortunately doesn’t take too much additional time on your part.
Here’s an example from Motif Concept Store:

12. Repurpose photos into videos and animated GIFs
Product photos don’t have to be limited to stills. In fact, many of the most successful ecommerce brands use other media types, including animated GIFs and product videos to provide a more dynamic shopping experience with context, ultimately driving more sales.
Fortunately you can often repurpose and reuse your photos, videos, and GIFs on a variety of channels and make your efforts go all that much farther.
For example, video is the top media format marketers use, with many taking advantage of short-form videos (videos that last less than a minute) due to how well-suited they are for social media engagement.

Incorporating video, even at a small scale, can help your products stand out, especially as consumers continue to consume more short-form content, and that content continues to drive return on investment (ROI).
Here’s how Graza uses video and GIFs for its olive oil products. It incorporates both stills and video to showcase its olive oil in action.

With editing tools such as Adobe Premiere and Apple Final Cut Pro, you can create videos in just a few minutes. For animated GIFs, try EZGIF or Make A GIF.
13. Reduce image file size
Image file size impacts page load time—bigger files take longer to load. A slow-loading website or page leads to a poor user experience (reducing conversion rates) while also hurting your SEO (reducing traffic). That’s why it’s important to reduce the file size of your photos before uploading them to your site.
Luckily, there are many ways to do so without affecting the quality of your product photos. And you can use tons of free tools like TinyPNG and Kraken.io.
14. Add alt text to increase visibility in search
Optimizing product photos for SEO is also incredibly important. Over one-third of ecommerce traffic comes directly from search, and this figure continues to grow.
One way to optimize for SEO is to include alt text for all of your product photos. Not just for SEO, alt text is also essential to help those who may be visually impaired navigate your site. Alt text is a hidden data field you can add in Photoshop, on your computer, or when you upload the photos to your website or marketplace channel.
Provide as much context as you can while describing the image in a neutral and non-subjective way. Here’s a great example by Semrush:

Use targeted and descriptive keywords relevant to your products. Do basic keyword research around your products to see which terms are being searched around your specific products.
15. Test your way to optimized product photos
We’ve covered a lot of ground on how to optimize your product photos so far, and while implementing the suggestions above will put you ahead of the competition, it’s very important you take a “testing” mindset into the process of improving your product photos.
You won’t know what works best for your business or brand simply by reading about what should work, you need to test things out for yourself. Of course, knowing the latest research on how consumers behave is a good place to start.
Ecommerce consumer research tool PickFu surveyed 100 consumers and found that roughly 50% of consumers look at price first and half of them would then look at the photos. Product titles and descriptions, while still important, weren’t as critical to those who were surveyed.
They recommend using tools such as Google Optimize and AB Tasty to A/B test your product photography.
When it comes to testing your product photos to see what works best, you’ll first want to have a baseline. Use a baseline when testing different product photo variations.
Below is an example. On the left, is the standard baseline. On the right is where different categories and product offerings are introduced.

Here are some ideas to test for your own product photos:
- Big vs. small product photos: Once you have your baseline, experiment with different sized images on your product pages. An easy test to run is smaller photos vs larger photos. While testing different sized images, it’s important to always make sure the images look good on mobile and tablet devices, otherwise your test will be wasted.
- Number of images: Try listing only a few products per page, or add your entire collection. Consider running each test for a few days and take note of any significant change of purchases, add to carts etc. Choose a few parameters to test, and stick with it for a few weeks before making any additional changes or running more experiments.
- Lifestyle vs. white background photos: Experiment with different backgrounds and contexts with your product photos across social, product collection pages, ads through post-production and editing. Measure Click Through Rate to establish a baseline. Social media is great for getting a “gut reaction” to any test you might run. Experiment with “quick view” to help keep potential customers on the same product without having to open a new page.
Invest in high-quality photos and edits in the first place
Ultimately, there’s no shortage of tactics and strategies to improve your product photos and in the process improve your conversions. But investing in high-quality photos and editing is one of the most effective ways to take your product photos to the next level and drive more sales.
Let us look after your image edits, so you can get back to the fun stuff. Try Path free.
Learn more


