

Have you ever shot a product photo, only to realize later on that the photos don’t meet legal or marketplace requirements?
If so, you’re not alone. Sometimes it’s difficult to understand what can be used and what can’t, what can be in the frame and what can’t, or who and where you can or can’t shoot.
A good place to start is to know photographers’ rights as it relates to taking a photo versus using a photo for ecommerce purposes. Generally, you can photograph anything in a public setting—though this may change depending on which country you’re shooting in; it’s always best to do research specific to your shoot.
The rules shift for commercial use and depending on what’s in the frame of your photo. You may need a release form for each person in your image, permission from a certain location, or even a photography permit. Unintentionally capturing one tiny thing in the frame of your photo could render your investment worthless. Worst-case scenario, you could get a cease-and-desist letter.
But you can avoid potential hiccups by being mindful of what’s in the frame of your ecommerce and product photos. Here are a few things to look out for:
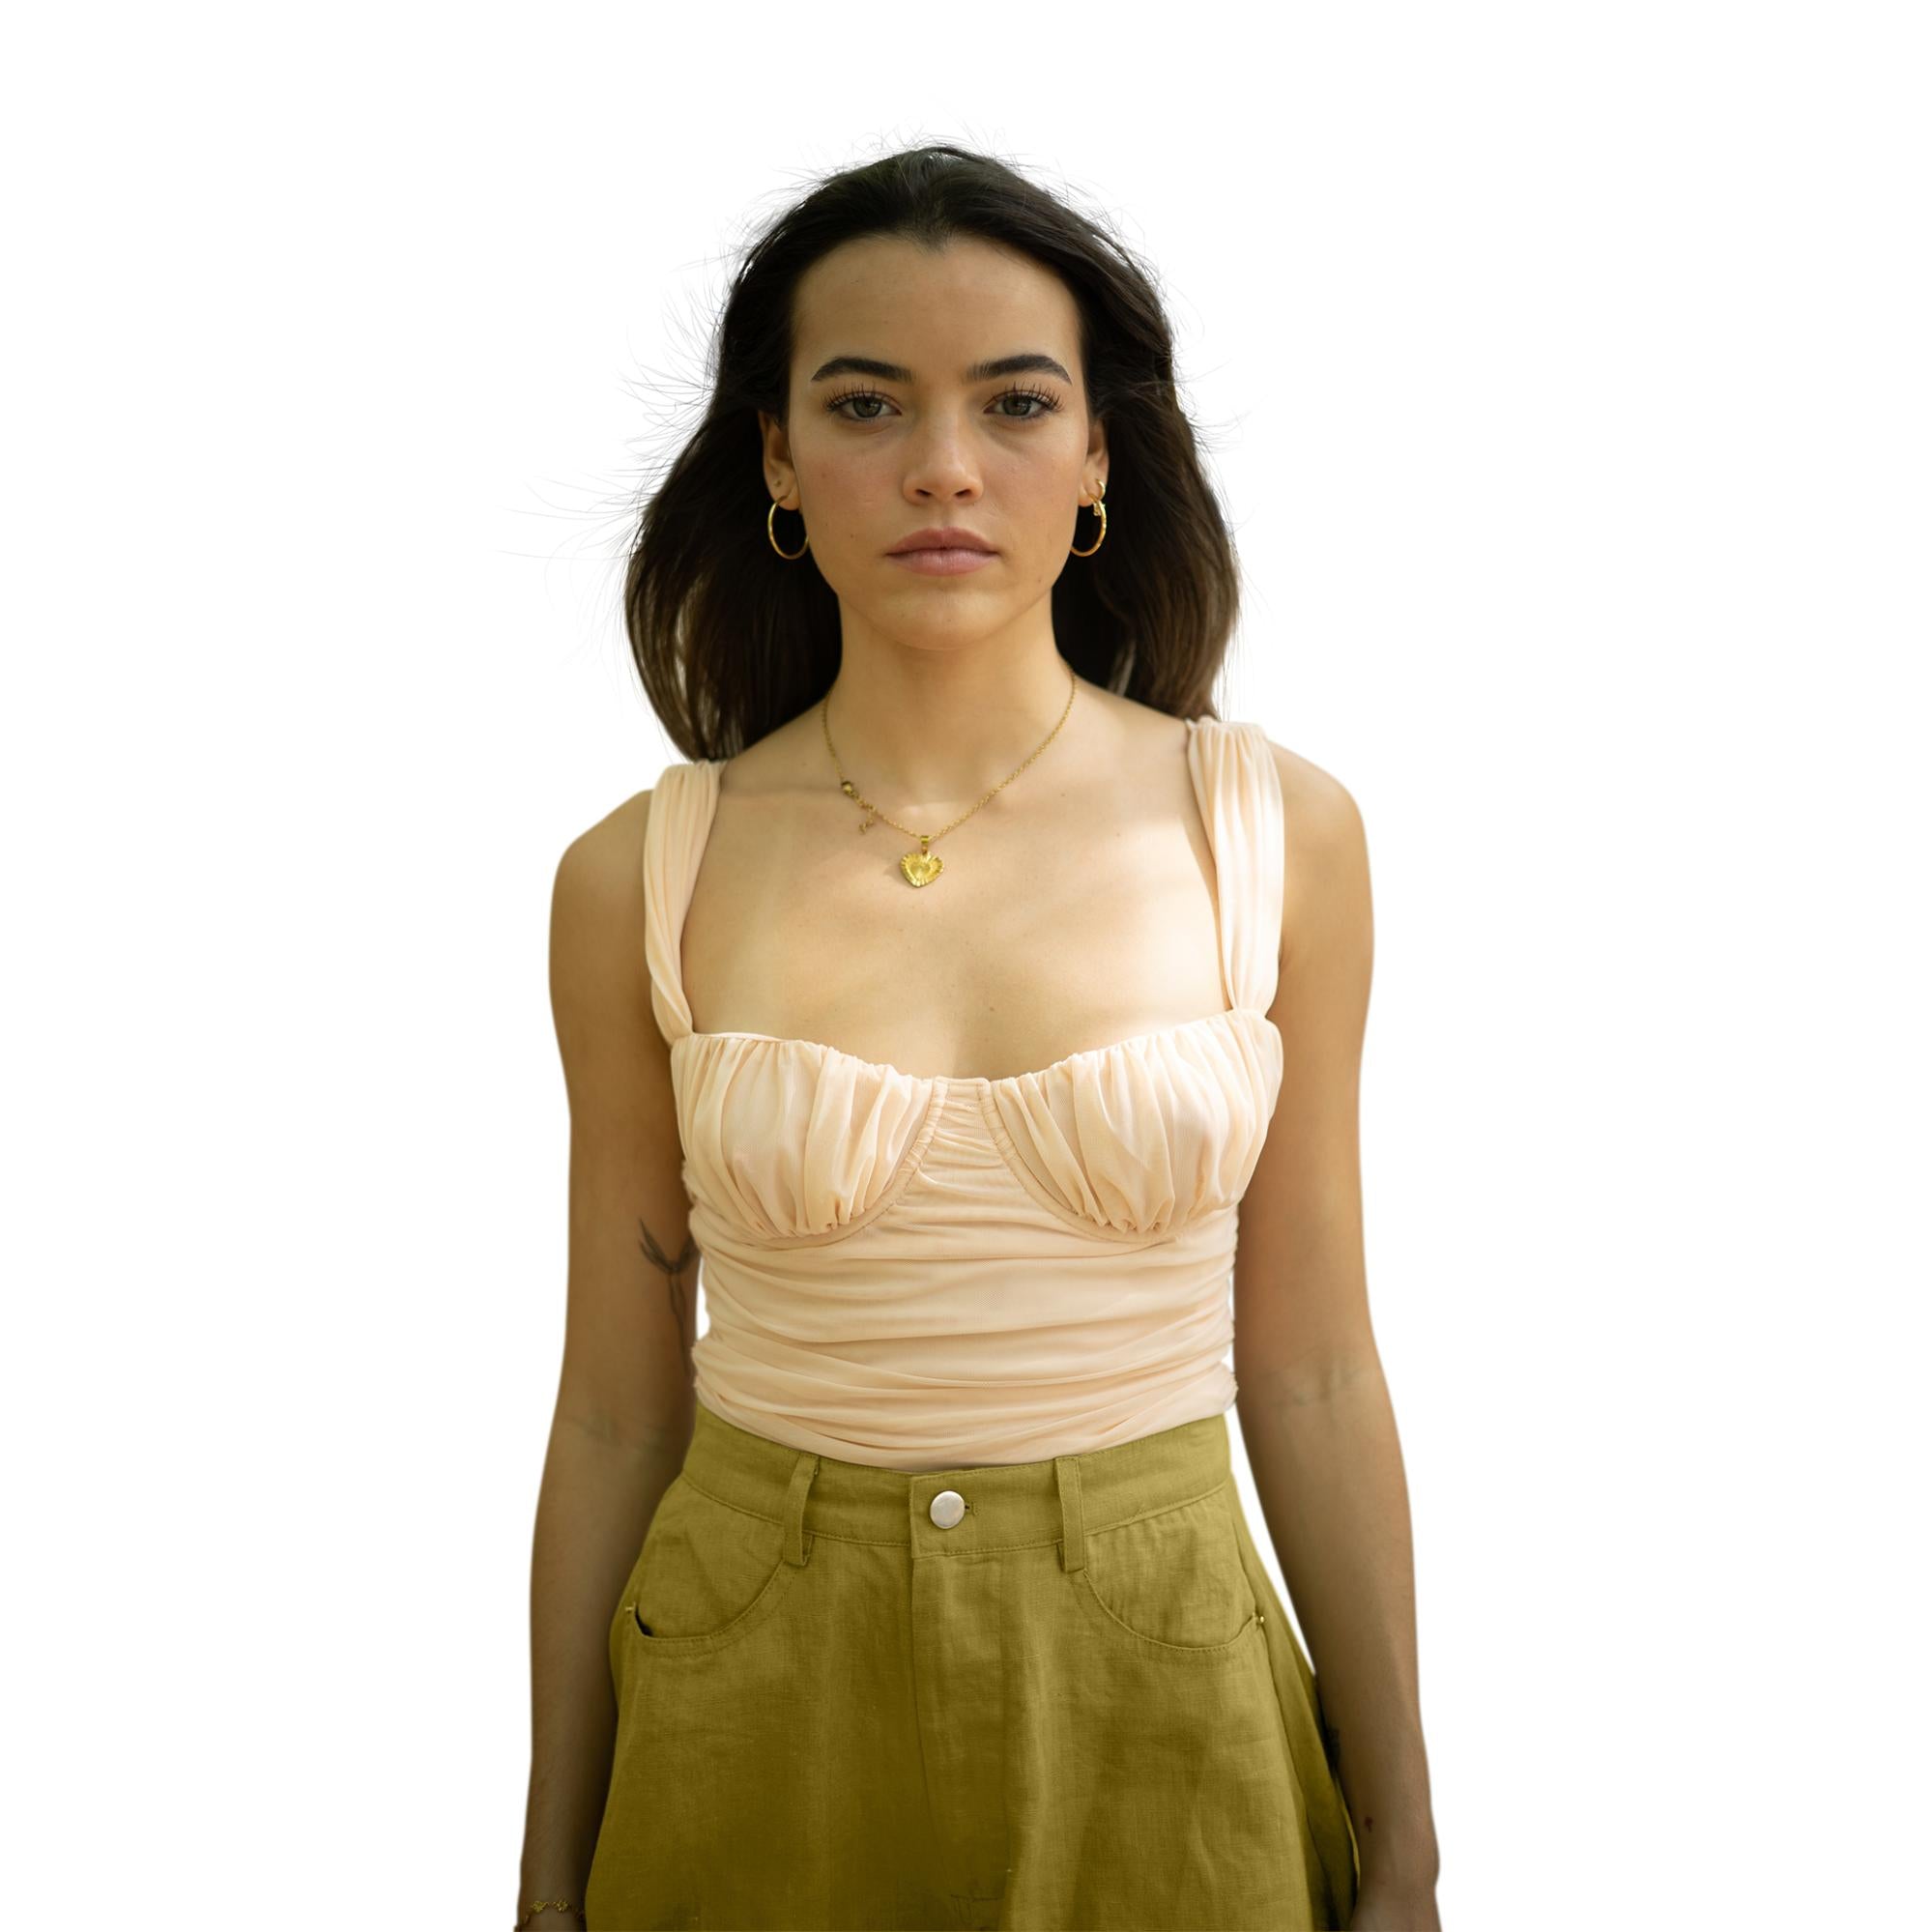
People’s faces

When you take photos in a public place, you run the risk of capturing a passerby in the shot. When possible, consider shooting in a location with less foot traffic. If you can’t avoid people altogether, you can still use the image if the person’s face is undistinguishable or hidden—if their back is facing the camera or their face is covered by a mask and sunglasses, for instance.
What to do if you get people’s faces in your photos
Edit the faces in Photoshop
You can always edit the faces out of the image. You can blur faces in Photoshop and many other photo-editing tools, or you can even switch it out with another face. If you’re savvy enough, you can do a Photoshop face swap with a face you’re allowed to use.
Get permission
Bring a few printed copies of your photo release form when you’re on shoots. It’s also not a bad idea to have a digital form; HelloSign is a good e-signature option for smaller businesses. You can draft your own release form or, if you have an attorney, they should be able to easily create one for you. Online release templates are a good place to start if you’re doing it yourself—like this photo release form or this collection of release forms. You can personalize the template to fit your branding and context.
QUICK TIP: When you approach people about signing a release form, have all of your material ready and a basic, professional script. You should be able to quickly explain to them your job, what the photos are for, and what the release means (in plainspeak).
Undergarments
When shooting product photography with live models, it’s important to make sure you’re not unintentionally capturing their undergarments, accessories, or even inappropriate or private parts of their bodies.
But this isn’t always possible. And many times, the camera picks up more than you can see with the naked eye.
What to do if you capture undergarments in your product photos
Check your shots as you go
To avoid unintentional undergarments in your product photos, do a few test shots to see if anything shows up. Remember to periodically check your photos as you go through the shoot to make sure lighting or angle changes don’t reveal the undergarments.
Add a CTA button or design element
If it’s small enough, you can add a CTA button or other design element to your photo. Keep in mind this has to make sense for the context.
Retouch in Photoshop to remove the undergarments
You can edit your product photos in Photoshop to retouch and remove undergarments and other unwanted distractions. Or, send them to Path for retouching if you don’t have the time, skills, or software. We can expertly remove any undergarments from your product photos, like this one we did for Motif Concept Store:

Children
It’s important to be thoughtful about any photos that include children. Laws regarding photographing children vary by location, but there are certain areas, such as schools, that prohibit taking photos of children.
Similar to photographing adults, the rules depend on what you’re doing with the image. Photos of people, including children, used for editorial purposes generally fall under First Amendment rights. If you need an image of a child for commercial purposes, you’ll have to get a signed release from the child’s parent or guardian.
For example, Ice Cream Castles, a children’s clothing brand, uses kids in much of their imagery. And as a visual, kid-focused brand, how could they not? In order to get the images they need, Ice Cream Castles uses a professional lifestyle photographer to capture playful images and they use Path for their edits. Even if it takes their photographer a bit longer to wrangle their young models and capture great photos, Path can still turn around edits quickly and affordably.
What to do if you have kids in your photos
Request permission
Get parental or guardian permission. Ask guardians if they’ll sign a release form. As we mentioned earlier, it’s a good idea to have physical and digital releases handy.
Turn to Photoshop
Blur or swap the child’s face. If you want to keep the child in your photo but you can’t get permission for whatever reason, you can remove their identity with a blur or face swap. Or, depending on the photo and product, you might be able to edit the child out entirely.
You could also add sunglasses to create a look like this one from children’s apparel brand Ice Cream Castles. You can’t tell the children’s identities because the glasses cover their faces.

Logos and brand names
Logos and brand names can’t be included in the image if it isn’t directly promoting that brand—especially in product photography used in marketing and advertising.
Those logos and brand names could distract from your image, and freelance photographers probably can’t even sell those shots to a client or even to a stock website. Essentially, you’re risking a trademark infringement or copyright violation, so it’s definitely something you want to avoid.
How to avoid logos in product photography
Change your frame
Crop the image to remove the logo altogether. This may not work depending on how your photo is framed and where the logo is in relation to the product and the rest of the image’s elements.
You can also completely reframe your shot and change angles. Maybe position the subject of your photo in front of the logo or take it from a different angle to cut the logo out of the frame.
Retouch your image
You can edit your product photos in Photoshop or with another editing tool to remove any branding or logos that you don’t have permission to use. You can use this tutorial to learn how. If you don’t have time, Photoshop, or the photo-editing skills to learn how to retouch product photos yourself, you can outsource them.
We can remove logos and brand names from your product photos. Take this flat lay photo, for example—if Prada were to use this product photo in their marketing, it might need to remove the Chanel and NARS logos and branding.

Though you wouldn’t add your logo in the example above, there are some contexts where you might add your own logo or branding. Maybe you have supplier-provided product photos which you can edit to customize for your brand.
Distinguishable product characteristics
Even if you’ve edited out the other brand from your photo, there may be some distinguishable product characteristics.
Think about the iPhone. While you can always remove the apple from the back of the phone and likely be fine, if your image shows the front of the phone, the circle button at the bottom of the phone is the distinguishable characteristic that sets the iPhone apart from other devices. Since the phone is a solid color, this could be a simple fix based on your level of editing expertise.
Another example is the clothing brand Adidas. The three stripes are the distinguishable characteristic that sets it apart from other brands, and this one may not be as easy to edit as others.
While you’re shooting, always ask yourself if you can guess what brand a certain background prop is—and if you can quickly come up with the answer, you likely shouldn’t include it in the frame of your photo.
How to avoid distinguishable product characteristics
Use angles and props
If possible, take the photo from an angle that hides the brand’s notable characteristics. Try using other props to artfully block the area.
Photoshop it out
The healing brush tool (shown in use below) can be helpful when removing recognizable product characteristics. If it’s Adidas’s three stripes, for example, maybe you remove or add a stripe.
![]()
Distracting and busy backgrounds
To maintain the focus on your product, it’s best to avoid a busy background. If there’s too much happening in the background of your photo, it distracts shoppers from the product you’re trying to sell.
Plus, 38% of shoppers are more likely to convert if the product’s featured against a plain background. If a distracting background is a concern, less actually may be more in this situation.
What to do if you have a busy background
Use a transparent background
Create a transparent background so you can use the photos across a variety of channels. Then you can use plain white backgrounds for main ecommerce images and add colorful or contextual backgrounds for website photos and marketing images.
Outsource your edits
If you’re strapped for time or photo-editing skills, hand your background removal edits off to a pro retoucher who can do it for you. The Path design team is available 24/7, with background removal services starting at just 39¢ an image.
Scout a new location for your photoshoot
Look for a spot without background elements that could compete with your product or appear to protrude out of a model’s head, for example. Consider creating a home studio for plain background shots.
Price tags and hangers
Similar to certain backgrounds, price tags can be equally as distracting. They may even make the photo (and subsequently the product) seem unappealing.
What to do if you have price tags in your product photos
Remove the tag
If you can’t pull the tag off, hide it. Try tucking the tag in an element of the clothing like a pocket or behind a bow so it’s not visible.
Check your angles
Try taking the photo from a different angle. You can usually capture the clothing without the tag being in the shot.
Get rid of tags in Photoshop
Retouching is always an option. If you can’t avoid it, you may be able to do a general retouch in Photoshop for a quick and simple fix.
Public buildings
Have you ever heard that you can’t take a photo of the Eiffel Tower at night? If you’re a professional, that might be true depending on the intended use. That’s because the lights are copyrighted as a work of art. While it may be unlikely your photoshoot would happen at night with the Eiffel Tower in the background, there are other public buildings and monuments to watch out for—art museums, sacred places like mosques and temples, and government buildings, for instance.
Shopping malls aren’t actually public property, but it’s also a good idea to avoid them. Malls are privately owned, which makes the simple task of taking a photo solely up to the discretion of the owner.
Sometimes, you can find signs that will explicitly state whether you can take photos on the premises. It’s always best to contact the location directly to find out their rules and recommendations.
What to do if public buildings are in your shot
Validate usage rights
Check if you can use it. You can use tools like Getty Images’ Intellectual Property Wiki to help determine if the building, monument, or landmark is suitable for the intended use of your photographs.
Find a new location
If easy and possible, choose a new angle or new location if you think buildings will cause an issue.
Remove the background
You can do this yourself in a tool like Photoshop or take advantage of professional background removal services.
Save a ton of time with pro background removal from 39¢ per image
Sports teams, logos and players
Most major sports teams’ names and logos are trademarked, which means you’re required to ask for permission before using it in your photos—especially if you’re selling something. Even in the written form, the NFL has names of games trademarked, down to the variation of ways you can refer to it.
So if a Yankees t-shirt pops up in the frame of your image, you’re likely required to seek permission from the MLB before publishing or selling your photography. When it comes to sports teams and logos, a good rule of thumb is if you think you have to ask for permission, don’t shoot it.
What to do if a sports logo is in your photo
Organize a reshoot
Do a reshoot. Unfortunately, your safest bet is to retake the photo completely. You definitely don’t want a legal battle with a professional sports team!
Edit it out
Crop the logo or name out if you can. If the team name or logo is totally unavoidable, you’ll have to spend some time editing to make it indistinguishable or remove it all together. For example, Photoshop’s clone stamp or spot healing tool work well for removing logos.
Unintended shadows
Shadows can be a great addition to a photo. Without a shadow, the product can look like it’s just floating aimlessly.
But if they’re unnatural or unintended, they can completely alter how you’re presenting a product. An unplanned or poorly executed shadow can result in harsh, dark, or messy-looking images that don’t show off the product.
Take this photo below, for example. The photoshoot was a lifestyle-centered shoot, so white background photos weren’t the primary goal. Therefore, the white background shots had unintended shadows due to the set location being at the beach. The shadows were uncontrollable and are difficult to fix in post-processing.
A shoot done in a studio with a different approach to lighting would clean up the image and help the product pop.
For product photography especially, you’ll want to understand the difference between hard shadows and soft shadows:
What is a hard shadow?
Hard shadows occur when your source of light is smaller than the product you’re highlighting. It gives a hard, distinct shadow.

What is a soft shadow?
Soft shadows occur when the source of light is bigger than the product. It will result in a more friendly, more diffused shadow. Usually, you’ll want to go for a soft shadow—and can do so by shooting outside or near a large window.

How to avoid unintended shadows in your photos
Get a flash diffuser
Flash diffusers are usually rather affordable, ranging from $15 to $200). But if you’re in a pinch, consider using something like a white piece of paper or a plastic grocery bag to cover your flash.
Use natural lighting
Go natural with your lighting if possible. To avoid unintended shadows indoors, try to use natural lighting. If you’re outside, schedule your shoot in the early afternoon. Just be sure to avoid shadows from trees!
Add a shadow effect
If you want a shadow in your product photo but don’t have the right lighting to create a natural one, you can always add a shadow effect later.
Step into the light and let us create your shadows for you from 25¢ per image
Product packaging
Sometimes packaging can distract from the product you're photographing. Many times the product looks better outside of the package.
Some products, such as makeup or food, are better photographed outside of their packaging so consumers know what to expect: colors and textures can be highlighted outside of the package.
Plus, packaging doesn’t always photograph well. For example, cellophane wrapping can create nasty glares—either due to your camera’s flash or even the natural lighting bouncing off the material. And typically, the packaging doesn’t showcase the product. Shoppers expect a nice visual of what that product will look like in real life, so you’ll have to take it out of the package.
How to avoid product packaging in your photos
Remove the packaging
The simplest way to avoid this issue is to get rid of the product packaging altogether. If you do opt for removing the packaging, ensure that the product is clean (if needed) before shooting.
Prop your packaging
Use it as a prop. Removing the product packaging isn’t always needed. If the product comes with premium packaging, then it’s best to include it in the photo as it’s best to highlight the additional flair that comes with the product. In certain scenarios, packaging makes a great photo prop.
Create a background
If it’s viable, use your product packaging as your background. You can also stage a shot of your product with the packaging in the background, as often seen by makeup and cosmetics brands. That’s exactly what they do in this example of product photography for CBD wellness drops:

License plates
If you’re taking a photo with a car or if cars are in the background (unrelated to your shoot), the license plate shouldn’t be in the frame of your photos.
Many people—even in images used for personal purposes—tend to remove or blur license plates since they provide information that can identify the owner of the vehicle.
What to do when you’ve captured a license plate
Create a fake license plate number
Edit the photo to include a fake license plate number. To make sure you’re not using a potentially valid number, aim to create a series of numbers and/or letters that doesn’t match the format used by the state that issued the license plate.
Remove or hide it in Photoshop
Photoshop out or blur the license plate. This should only take a few minutes, based on your level of editing expertise or you can outsource these photo-editing tasks to Path.
You could also put black, silver, or white over the plate numbers, matching the vehicle and hiding the license plate numbers.
Block the license plate physically
Cover or block the license plate. Grab some tape, a piece of cardboard, or something else to cover the license plate. Even if it’s not big enough to cover the whole thing, as long as you make it impossible to make out the full string of characters. You could also even remove the license plate altogether. If you do any of these things, make sure it’s legal where the car is located and also you have permission from the owner.
Dates, times, and locations
In some instances you’ll want it clear where and when you took the photos. For example, Christmas lights will likely be photographed in winter and at night.
You’ll want to pay attention to small details like clocks in your images. You wouldn’t want a clock that shows the time as 12-noon if the image is supposed to look like it was taken at night.
How to avoid capturing dates, times, and locations in your photos
Edit the sky
Change the sky color in Photoshop. You can follow the steps in our tutorial.
Change the time
Edit the clock to change the time. Better yet, remove the clock altogether if possible.
Retouch in Photoshop
Consider changing visible street names or signs with Photoshop. Replace them with fake names or inconspicuously blur the names so they're not legible.
Capture ecommerce-ready photos
Getting high-quality product photos that fit all the legal requirements can be challenging, but if you keep these 12 things in mind, you have a much better chance at success. Your clients will be happier, and the images should help produce more sales.
Find out how to get started with your virtual photo editing studio


