Believe it or not, the most important element in taking a great product photo is not the camera. It’s not the lens. It’s not even the product itself. It’s the light!
In other types of photography, you can get away with imperfect lighting. With portraiture, a great expression can turn even the most technically flawed image into a keeper. In sports or wedding photography, the most important thing is capturing the important moments. But when it comes to product photography, those elements aren’t present, so your technical details matter more.
If you want shoppers to connect with your photo and want to purchase the product in it, you’ve GOT to nail the lighting.
Today, we’re going to help you do that with two simple setups so you can get picture-perfect lighting for your product photos no matter your skill level.
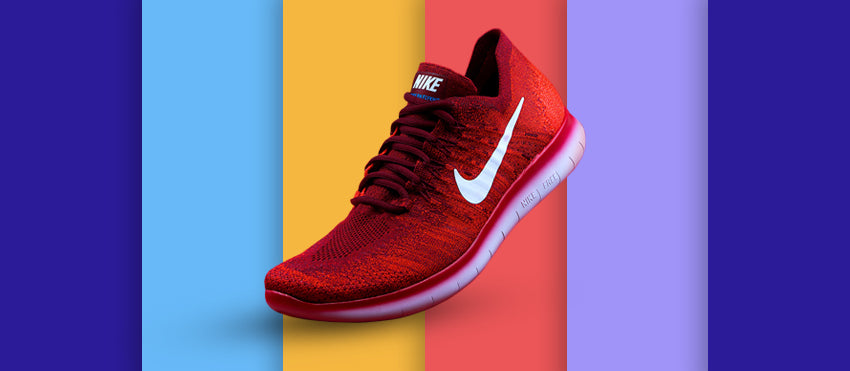
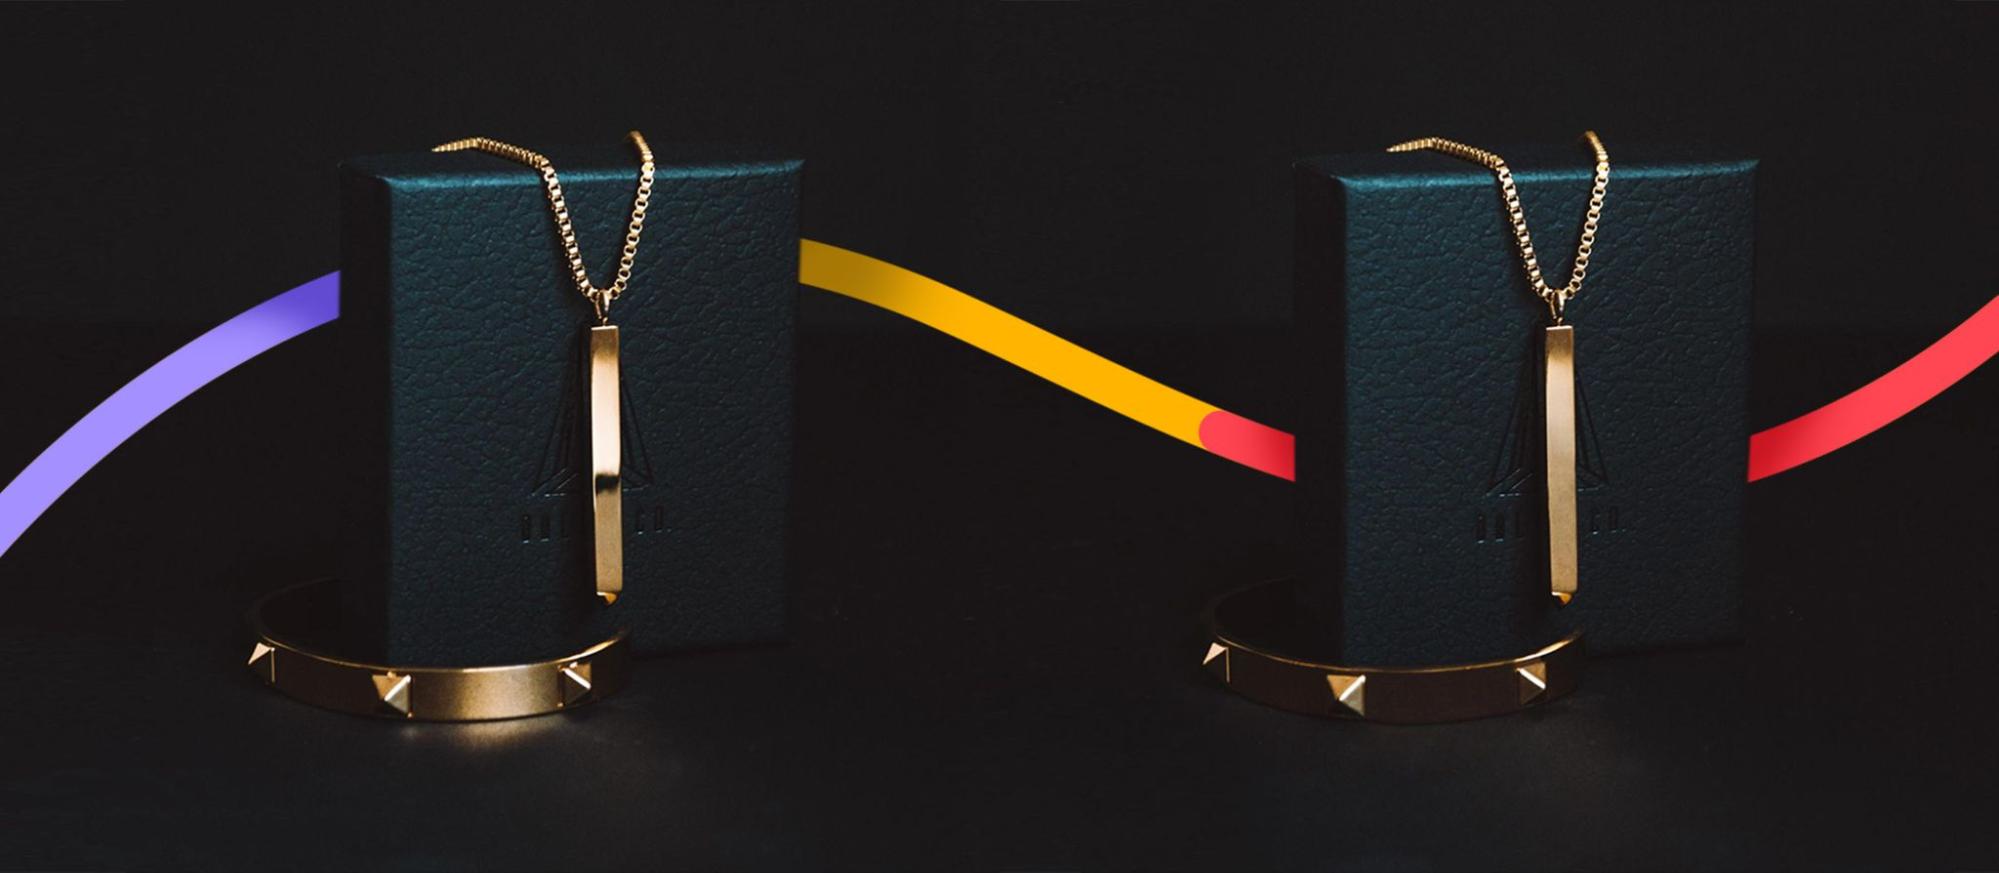
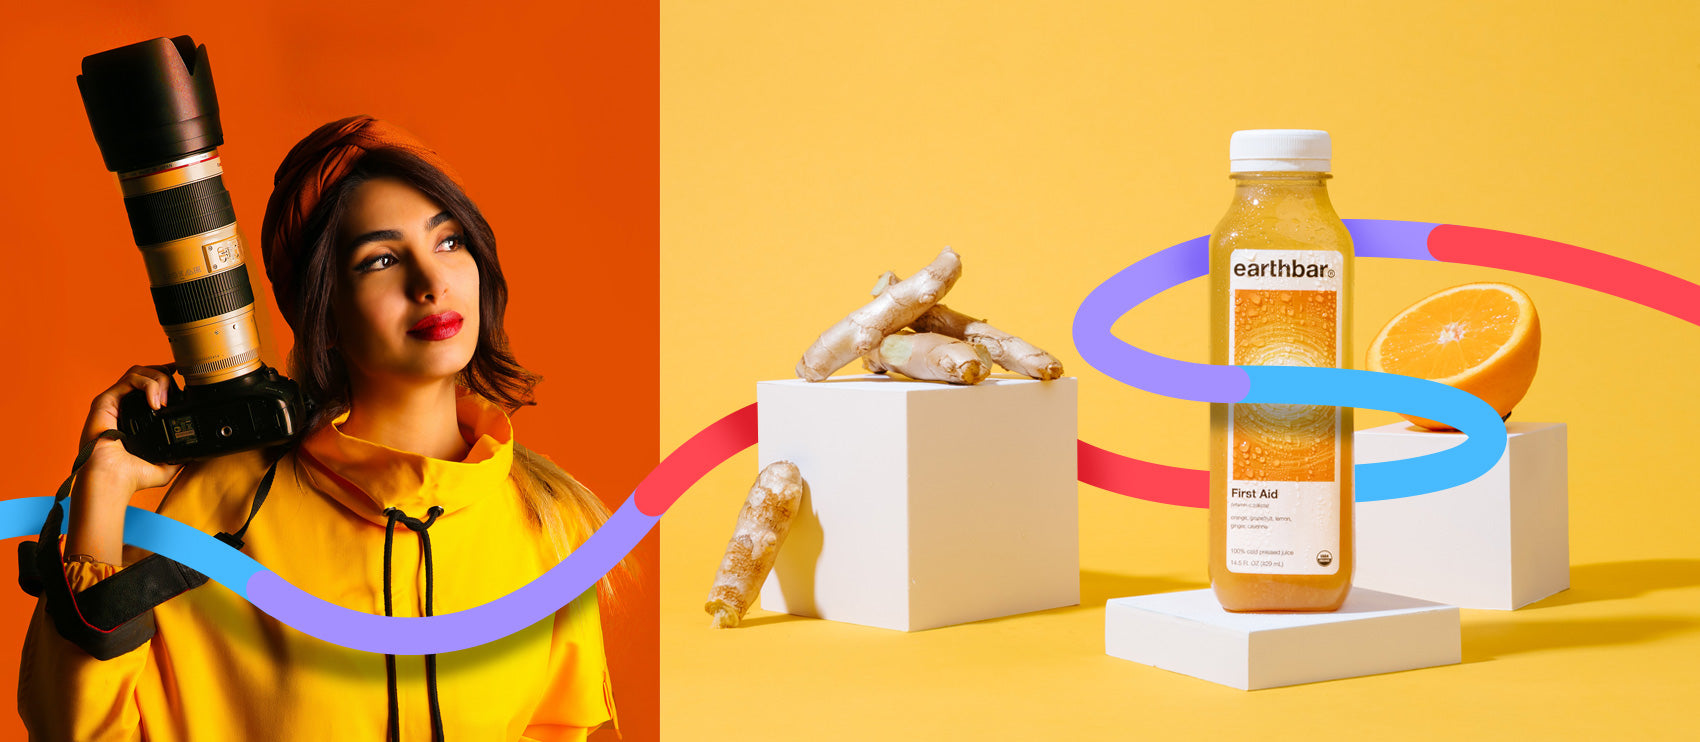
Just to be clear, these are the kinds of images we’re talking about today:


They look simple, but that simplicity is deceptive. Because the products are set on a plain background, all focus is on the product. That means your lighting must highlight all the nuances of the product.
5 product photography tips before you get started
Before we get to the setups, here are a few general things to know:
1. Use your camera on Manual mode
Sure, you could leave your camera on P mode and still wind up with a decent shot, but why leave anything to chance? Switch on over to Manual with confidence — we’ll walk you through the settings you need.
2. Start here, then play
There are three settings you can control while in Manual mode that make up the exposure triangle:
If you adjust one, it affects them all, so change them in that order. Here’s what to do:
1. ISO
First things first, let’s tackle ISO (or ASA depending where you live). You want to keep it as low as possible to decrease the risk of getting any noise or digital grain in our images. Set yours to 200 — you might have to bump up a bit, but start there and see if you can make it work without going any higher.
2. Aperture
Next, aperture. For product photography, you want the entire product in crisp, clear focus. This means you should stop down and use a medium to small aperture.
How small does it need to be? That depends on the length of your lens, the distance from the lens to the subject, and the front-to-back depth of the subject itself. Start out at anywhere from f/5.6 or f/8.0 and take a couple of test shots.
Afterwards, check the shots in the back of the camera. Zoom in on your LCD screen and look for any softness or blur around the edges of the product. If it’s even the tiniest bit soft, stop down again. You can fix a lot in post-production, but the amount of time you’d spend repairing blurriness is not worth it, so get this right on the front end.
3. Shutter speed
Finally, we have shutter speed. When it comes to product photography, shutter speed is the variable you CAN play with without affecting the quality of the final photo.
If your camera is handheld, you need to be faster than 1/85 in order to avoid camera shake. If your lighting situation is so-so, sometimes this is impossible to achieve, so that brings us to our next point...
3. Use a tripod

If your camera is on a tripod, you can keep your ISO nice and low, you can keep your aperture where it needs to be to capture all the details, and you can slow down your shutter speed to accommodate the first two without ever worrying about camera shake resulting in blurry images.
Keeping your camera on a tripod also helps to ensure that your product is in roughly the same place in the frame — this helps speed up post-processing.
4. Set up your background
Regardless of the lighting setup you choose, setting up with a plain background is a good idea. A sweep background makes your life even easier because there’s no dividing line to erase later. Choosing a neutral tone is great, too, because it helps avoid any strange color casts that might end up on your product. Of course, if you need help with either of these problems, Path can handle it for you — learn about our services.
5. Don’t fear the histogram
Finally, as you set up your lighting, remember to take a few test shots, review them and check the histogram on the back of your camera.
Remember, the camera doesn’t function like the human eye — if something looks bright and attractive to you in real life, it may render as blown out and unusable on camera. If your histogram looks like this, dial down the lights, step down on your ISO, or speed up on your shutter speed. Better to underexpose slightly and preserve highlight detail than to blow a channel and have to spend hours in Photoshop — or worse, have to reshoot entirely.
How to set up the lighting for your product photoshoot
Having said all that, let’s get back to the topic at hand: the lighting.
Take advantage of natural light
There’s no light quite as beautiful as natural light. There’s just something about the quality of natural light that you’d be hard-pressed to recreate with any artificial lights — even expensive studio lights.
That doesn’t mean natural light is the easiest light source to work with, though. On the contrary, natural light can be tricky, especially if you don’t know how to set up your shot to harness it.
The first thing to know about this? “More” does NOT equal “better.” Many people without a background in photography might think a bright, sunny day renders the best lighting for a shoot. In fact, the opposite is true. Harsh, direct light creates hard, blown highlights and deep shadows. Details may be unrecoverable, even with Photoshop.
Instead of direct light, you want indirect light. And there’s no better place to achieve that than just inside a window.
To get the perfect window lighting, set up your backdrop and product by the window, but out of any direct rays of light. South facing windows generally work best, but you have to work with what you’ve got. (If your product is small enough, work on a table top — your back will thank you later.)
Next, take a reflector — whether it’s a true photography reflector or (my favorite) a piece of white foamcore and set it opposite the window. This will bounce light onto the dark side of the product and greatly reduce if not totally remove the dark shadows. You can play with the placement of the reflector to see what gives you the best results.
Yes, it’s as simple as that!
This is part of why I love natural light — it’s not difficult to get amazing photos quickly and inexpensively.
But what if you don’t have any large windows where you are? Or what if it gets dark early and you need to extend your shooting hours? Then it’s time for the next option…
Studio lighting
When it comes to photography studio lighting, there are tons of options available. You can choose from speedlights, monolights and continuous lights (my personal favorite).
Speedlights are external flash units; you can mount them to the top of your camera with the hotshoe, but they’re usually placed on stands. They’re lightweight and easy to get started with (if you choose to meter in specific modes — that’s an entire different topic, though).
Monolights are separate strobe units. Like strobe lights, they fire when an external trigger unit tells them to do so. They can be very powerful and might even be overkill for a product photography shoot.
Continuous lights are on continuously (unlike the first two), so you can find your exposure easily and shoot to your heart’s content without worrying about things like sync speed, metering modes, or radio triggers. If I could choose one type of studio light for my product photography arsenal, continuous lights would be it.
Whichever studio light source you choose, the setup comes down to a few fundamentals.
You need a key light, a fill light and (maybe, but not always) a backlight. This can sound overwhelming, but as soon as you understand what each light does, it’s easy to grasp.
Key light: The key light is the No. 1 light source. It’s the one you aim directly at the product — all you have to do is set it to one side or the other of the camera.
Fill light: The fill light is the second most important. It shouldn’t be as bright as the key light, and it’s really just there to pick up where the fill light leaves off, so turn down the intensity or move it further away from the subject and place it opposite the key light. (That means if the key light is to the right of the camera, the fill light should be to the left, and a little further away.)
Backlight: Finally, the backlight is coming up from — you guessed it — the back of the subject. To place this light without disrupting the shot, you either need to be behind and above the subject or behind and below. Backlights are great for products with finely detailed edges — like feathers or fur — because they really make those details stand out clearly.
On the other hand, if you’re photographing something opaque and simple, like for shoe photography, you may not need to get a true backlight involved. Some light will always bounce off your background and essentially do the work of that separate light, so test it out and see if your item warrants a third light or if you can get away without it.
Types of bulbs
Let’s break away for a second to talk about the type of light you’re getting from your studio lights. Not all light bulbs are created the same! In fact, there are three main types to consider (Tungsten, fluorescent, and LED) and they each have their own benefits and downfalls.
Tungsten
First up is Tungsten. Sometimes referred to as halogen, tungsten lights are very, very bright, but this also means they put off a lot of heat. If your product is heat-sensitive, you definitely want to pay attention to this.
Another good point? Tungsten lights are inexpensive and easy to replace.
One thing to watch out for: Your white balance and color can be negatively affected by these lights. Be sure to fix this in camera or shoot a test shot with a color-matching tool so you can address it in post-processing.
Fluorescent
Next, we have fluorescent. The nice thing about fluorescents is that they’re relatively cheap to replace, and they don’t give off a lot of heat, so they’re easy to work with. The downfalls are that fluorescent lights cycle, so your exposure won’t always be spot on, and their color is not the truest, so you’ll have more to take care of in post-processing.
LEDs
Finally, we have LEDs. Like fluorescents, LEDs don’t produce a lot of heat. They’re also longer-lasting, so that means less replacement cost.
One more plus for LEDs is that they tend to render colors more correctly than other bulbs. LEDs may cost more on the front end, but all these benefits make them a solid choice overall.
Choose your bulbs wisely, and as we mentioned before, don’t mix them or you’ll have a tough time getting correct colors in post-processing.
Light placement
Once you know what kind of lights you’ll be using, the next step is to set them up and start playing.
As we mentioned before, there are two general placements you’ll need to start from, but as for exact specifics, you’ll have to experiment with your light locations to see what kind of exposure and shadows and highlights you’ll get.
Let’s start with the key light.
Set up your product. Place your camera on your tripod. Then add the key light to the right or left of the camera (your call!) — and make sure it’s above both the camera and the product aiming down.
Once you’ve got the key light set, add in the fill light. It goes on the opposite side — so if the key light is camera right, the fill goes camera left — and a little further away. This is because we don’t want the light to be completely equal on both sides. That looks and feels unnatural, and without some shadow, your product will lack definition. (This is especially bad for products because it makes the item look cheap.)
Once you’ve got these two lights in place, you can now experiment with the placement of the key light. Should you move it up higher, or bring it down a little? Should you bring it in closer, which will give more light and therefore a harder shadow and brighter highlight, or scoot it away and give it a more diffuse light and a softer shadow?
When the key light is in a spot you like, you can adjust the fill light with the same experiments — up or down? Closer or farther?
And finally, when these two are in their proper spot, you can decide if you want to add a backlight, or if there’s already enough light bouncing off your background.
Remember, your eyes will deceive you, so take test shots all along the way. The camera functions differently than your eye, so trust that what you see isn’t always what you get.
Not happy with the shadows in your shot? You can learn how to add a natural shadow in Photoshop to fix them in post-processing.
Adding modifiers
If you don’t like the quality of light you’re getting, or you want to add a particular special effect (like the appearance of a window reflection), there are several products you can use to modify your light. Anything from a big soft box (to diffuse your light) to a snoot (to direct the light to a specific detail) can be helpful when creating the perfect product photography lighting setup.
Get the lighting right and do it again
Getting perfect lighting for your product photos doesn’t have to be hard. Once you’ve got the basics down, you’ll be able to replicate your setup again and again, allowing you to get the best results — FAST.
Remember to play and have fun with this — as long as you’re learning, every shot you take is one shot closer to excellent product photography!

